


Photo by Allef Vinicius on Unsplash
How to Reshape Felt Hat
I. Introduction
A. Explanation of reshaping a felt hat as a way to restore its original shape or customize it to fit personal style
B. Overview of the article's aim to provide steps and tips for reshaping a felt hat effectively
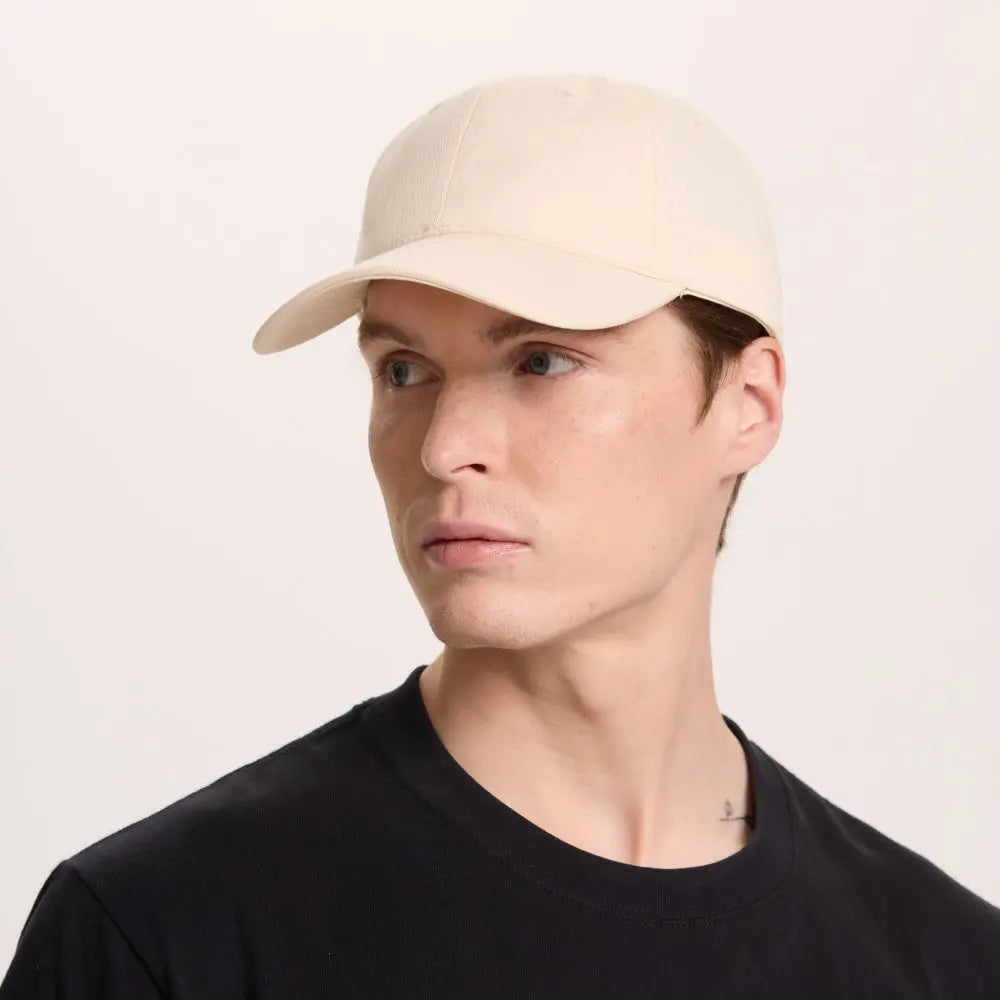
Felt hats are popular!! These wide-brimmed items originally protected ranchers from harsh weather conditions. However, these felt hats are now proud members of modern fashion, and they're killing it. The crown style and brim shape are the distinctive features of cowboy hats.
How to reshape a felt hat? Well, just choose the section you want to shape first and hold it over the steam from the hot water until the fabric softens. Reshape it with your fingers with gentle pulls, bends, pinches, and stretches until you get the shape you want. A flat brim is generally the easiest to attain with a good steaming.
For today’s article, we would try to provide steps and tips for reshaping a felt hat effectively, let’s dive in!!
II. Understanding Felt Hats
A. Discussing the characteristics and construction of felt hats
B. Exploring the types of felt hats commonly reshaped, such as fedora, trilby, or wide brim hats
What are the characteristics of felt? Actually, the material is very good at dampening sound and is absorbent and moisture-wicking. Felt is durable and easy to cut and work with. That said, it is pretty rigid and can shrink over time. The fabric can have a coarse feel, but this can be counteracted by adding synthetic fibres.
The types of felt hats commonly reshaped are fedora, trilby, and wide brim hats. Fedora hats were the practical choice for most, worn to protect a person's head from weather and wind. The original style for the fedora hat was made of felt, with a wide brim, an indented crown with a pinched front, and ribbon accent. Trilby is a soft felt hat with a narrow brim and indented crown. Popular examples of wide-brimmed hats include boater hats, skimmer hats, fedoras, trilbys, gambler hats, derby hats, and cowboy hats. Bowler hats have a two-inch brim with a rounded top. This style was popular in 1800s and early 1900s.
III. Assessing the Hat's Condition and Shape
A. Explaining the importance of evaluating the hat's current condition and shape before reshaping
B. Identifying common issues that may require reshaping, such as flat crown, misshapen brim, or dented areas
There’re several common issues that may require reshaping, such as flat crown, misshapen brim, or dented areas.
Flat hair often rears its head among fine-haired folks. Sebum, hair products, dirt, and other impurities tend to weigh down thin hair strands. The flatness is even more pronounced for those with fine, straight hair as these residues can travel effortlessly from the roots to the tips.
One of the most common issues which can happen to a brim is that it loses its original shape or form. If that's the case, your hat would look silly and kind of out of proportion. So, you need to fix it. And to be honest, in most cases, this is very easy.
If you dent the surface of something, you make a hollow area in it by hitting or pressing it.

Photo by Bruno Charters on Unsplash
IV. Preparing the Hat for Reshaping
A. Providing guidelines on cleaning and removing dirt or stains from the hat
B. Exploring methods to relax the felt material for easier reshaping, such as steaming or wetting the hat
How to clean and remove dirt from the hat? Well, just dab the dirty areas of the hat with a slightly damp washcloth of warm water and mild non-bleach laundry detergent or dish soap. If the hat has some more pronounced stains and can withstand a little more, you can try using a soft-bristled brush like a toothbrush to swipe away the grime.
There’re many methods to relax the felt material for easier reshaping, such as steaming or wetting the hat. Steaming your hats helps to keep them fresh, get rid of wrinkles in the band, or reshape your hats.
V. Reshaping the Crown
A. Explaining techniques for reshaping the crown, such as using steam, water, or a hat form
B. Providing step-by-step instructions for reshaping, including pinning or securing the crown to achieve the desired shape
For reshaping the crown, you can use steam, water, or a hat form.
How do you pin down a crown? Well, take a bobby pin, hair clip or combs and use it to secure the crown in place by inserting it through one of the rings on the crown and into your hair. Repeat this process with additional bobby pins, securing the crown to your hair at several points along the length of the headband.
VI. Reshaping the Brim
A. Discussing methods to reshape the brim, such as using steam, hot water, or a hat form
B. Providing guidance on flattening, curving, or shaping the brim to the desired style
There’re many methods to reshape the brim, using steam, hot water, or a hat form. If you would like to use the steam, once you've got a hot kettle or iron ready, hold the hat 6-8 inches away and allow it to start soaking up the steam. Gently rotate the hat until all areas of the material are warm and soft. Depending on the hat's size and the material it's made from, this may take several minutes. If you would like to use hot water, fill a tea kettle with water and bring it to a boil. Hold the hat over the steam from the kettle, being careful not to let the hat touch the water. Use your hands to gently reshape the hat, focusing on the areas with creases. Allow the hat to air dry in a cool, dry place.
Another topic, if you would like to flatten, curve, or shape the brim to the desired style, exert equal pressure along the entire length. For a curved brim, gently curve the edges while keeping the center relatively flat. Gradually work towards the edges: Once you have shaped the center to your satisfaction, gradually extend your molding technique towards the edges of the brim.
 Photo by Daniele Salutari on Unsplash
VII. Drying and Setting the Hat
A. Explaining the importance of allowing the hat to dry completely in its reshaped position
B. Discussing techniques for setting the hat's shape, including using pins, weights, or a hat block
It’s quite important to allow the hat to dry completely. Pat the hat gently with a towel to remove excess moisture. If necessary, reshape the hat and place it on a clean towel or drying rack in a well-ventilated area. Allow the hat to air dry completely before wearing or storing it.
You can use pins, weights, or a hat block to set the hat’s shape. These would all work in a pretty wonderful way and make your felt hat gorgeous!!
VIII. Fine-Tuning and Reinforcing Reshaped Areas
A. Providing tips for addressing any minor imperfections or unevenness in the reshaped hat
B. Discussing reinforcement methods, such as using adhesive or stiffening agents, to maintain the hat's shape
How to deal with minor imperfections? Well, dust your hat with a soft bristled brush to keep it clean. Heat will shrink the interior sweatband - avoid exposure to stoves, radiators, lamps and car windows. Store your hat in a cool dry place to help it to retain its shape and stay clean. Out-of-season, store your hat in a hat box.
You can also use reinforcement methods, such as using adhesive or stiffening agents, to maintain the hat's shape. Stiffening agent excipients are used primarily in topical preparations for increasing the preparation's viscosity. Often stiffening agents find application as sustained-release carriers and to minimize sweating and bleeding of oil-wax blends.
IX. Preserving the Reshaped Hat
A. Highlighting the importance of proper hat care and maintenance to preserve the reshaped form
B. Providing guidelines for cleaning, storing, and protecting the hat to extend its lifespan
How can I clean my hats without ruining them? Well, to avoid damaging the hat's materials, test detergents on a small, hidden area inside the hat before washing. Most modern hats can be soaked in water and hand-cleaned. Add a dash of mild detergent to a bucket of water and stir. If you have tough stains on the hat, use a stain remover and a toothbrush to pre-treat.
Another question, how do you store hats long term? Answer is…store your hat in its own box. When a hat is hung on a hook for a long time, it might distort the shape. To prevent the hat from getting dusty, store your hat in its own box – your hat will thank you. Otherwise store the hat in a breathable bag made from natural materials, for example cotton. This way, you can protect your hat for a longer time and extend its lifespan.

Photo by Ashford Marx图片 on Pexels
X. Conclusion
A. Recap of the steps and tips for reshaping a felt hat effectively
B. Encouraging readers to embrace hat reshaping as a way to restore and customize their felt hats to fit their personal style
C. Reminding readers to approach reshaping with care and, if uncertain, to seek professional assistance for more complex reshaping tasks.
If you wear a hat, it might end up a bit out of shape at some point. Or maybe you just feel like experimenting with the silhouette. Whatever the reason, these simple DIY techniques will help you become a pro at reshaping your favorite felt hat. Just remember that the process might need to be repeated a few times to get the look you want.
Also, don’t forget to embrace hat reshaping as a way to restore and customize their felt hats to fit their personal style. Customization, also known as personalized or made-to-order fashion, is changing the way clothing is designed, produced, and consumed. This shift is not only reshaping the apparel industry but also redefining the relationship between fashion brands and their customers.
That’s all for today, and if you have any questions, please comment below and let us know!!